6061 T6 High Vacuum Aluminum Brazing
Receiving and Inspection
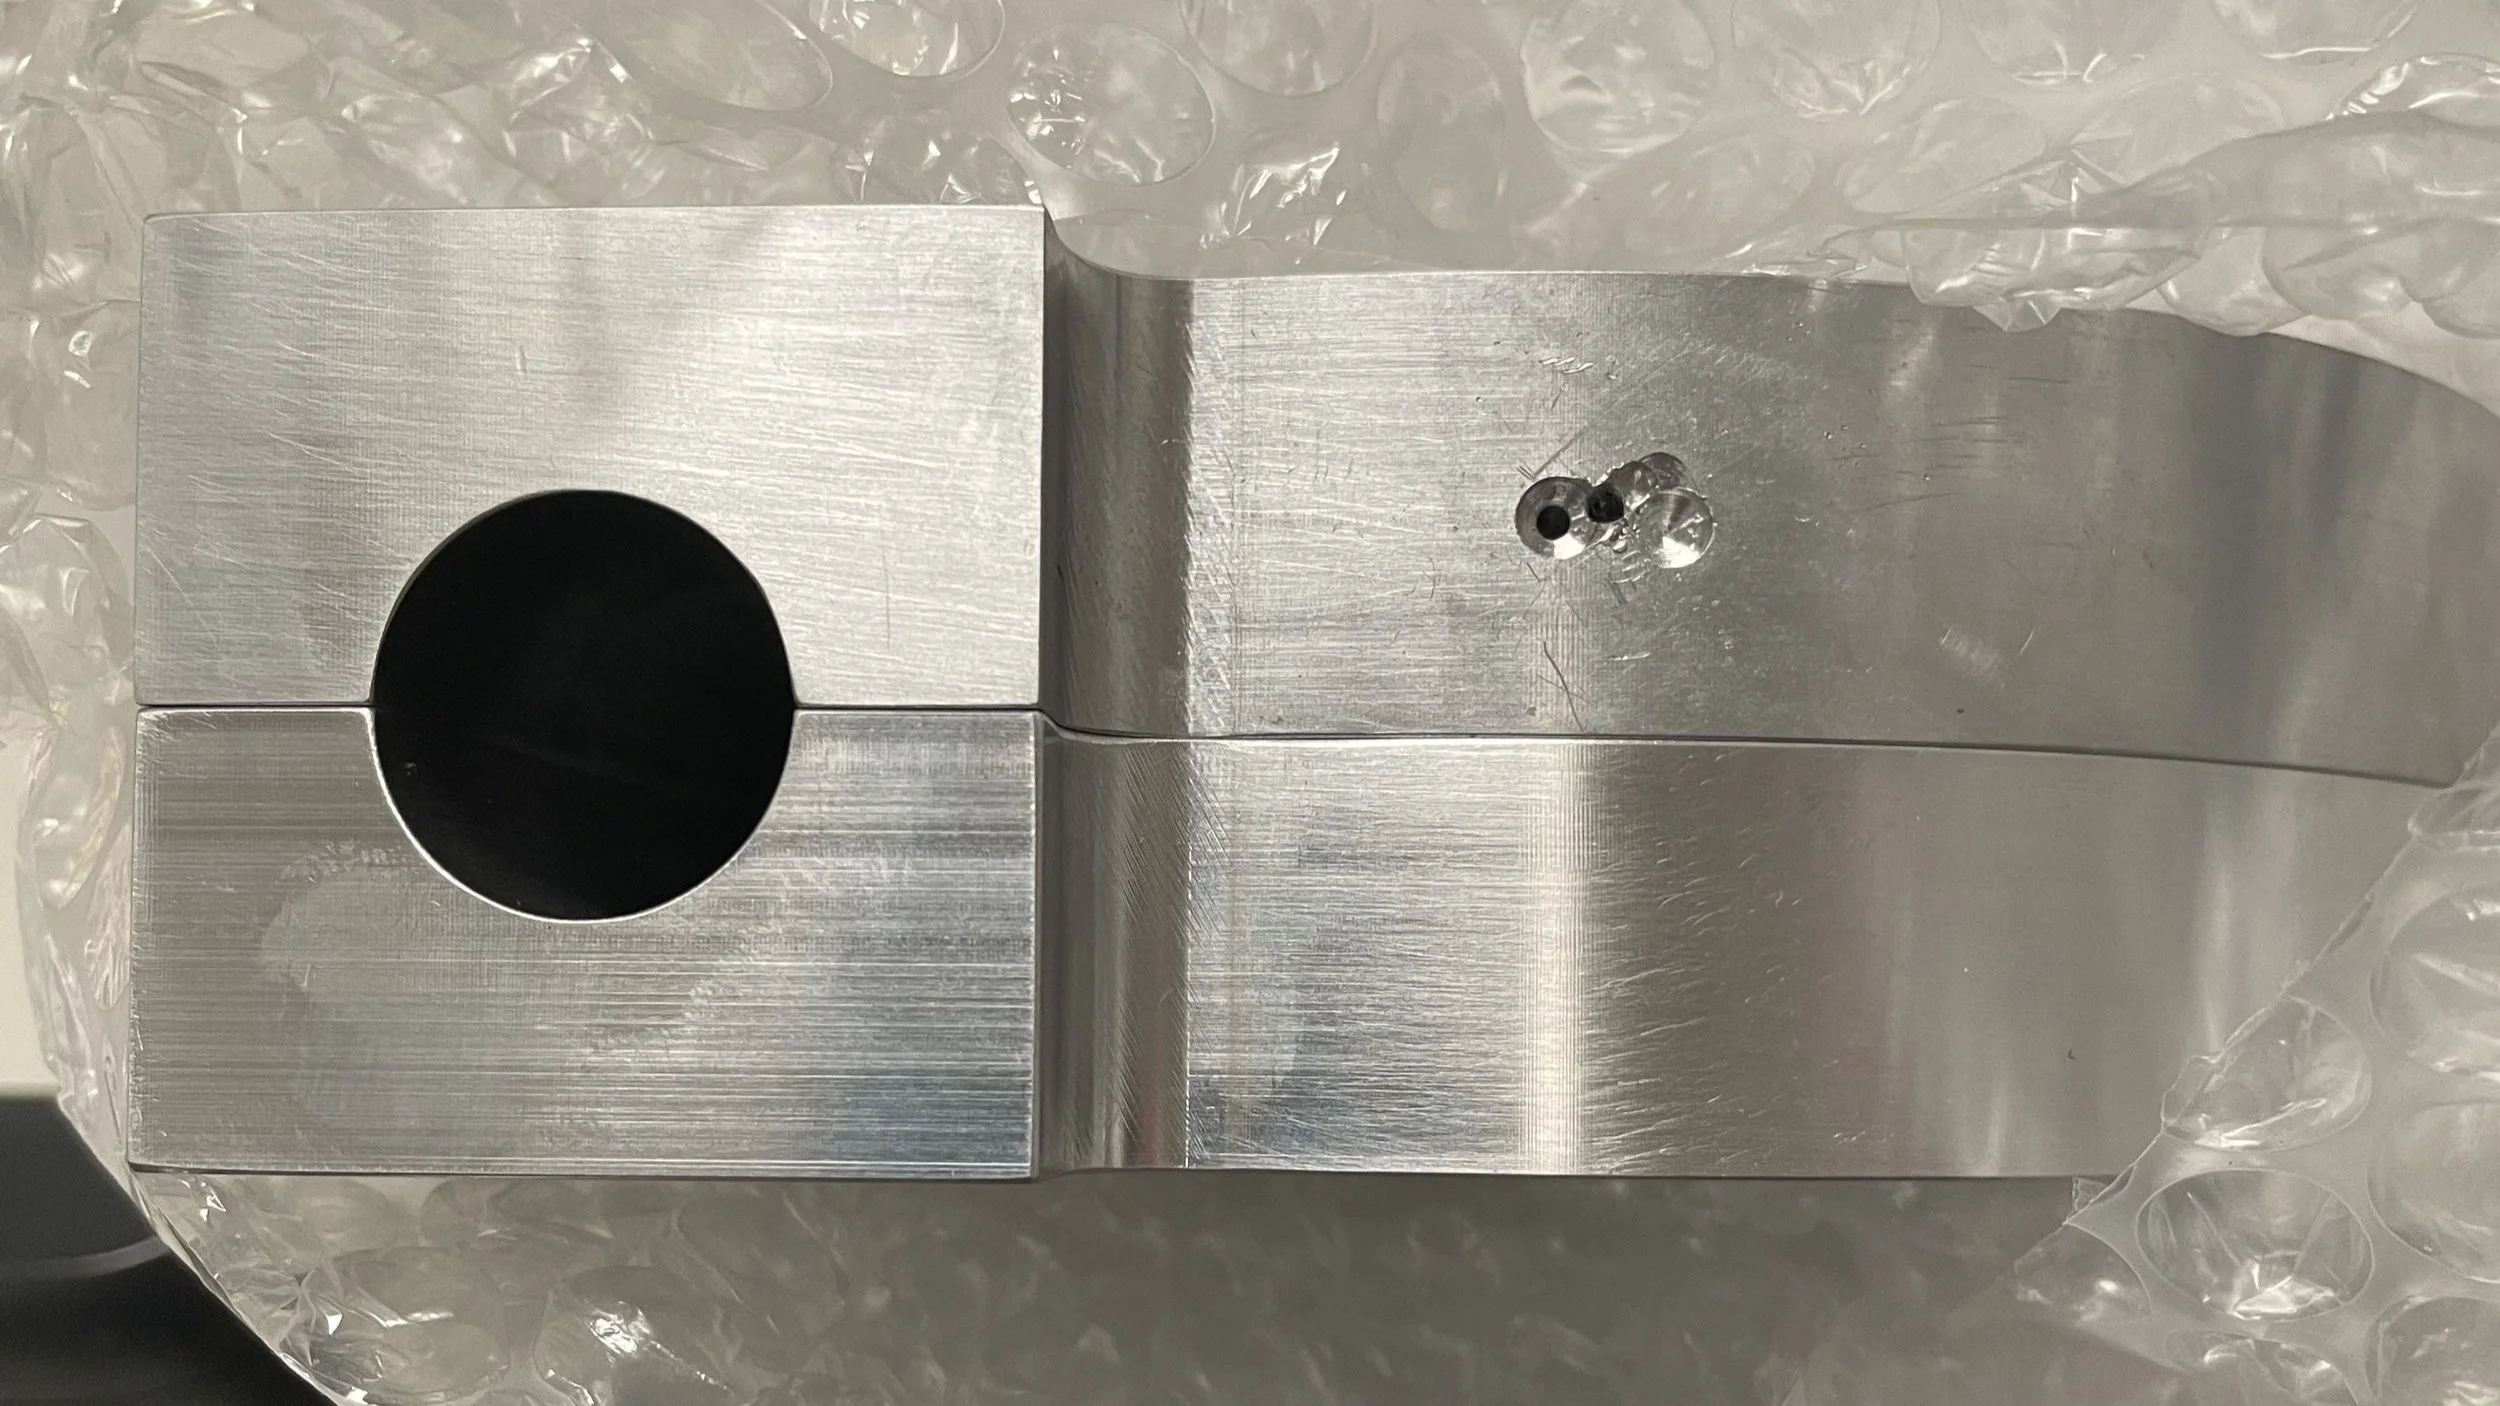
For this job I was performing a high vacuum braze of two 6061 Aluminum Pieces.
The braze material used for this project was .002” thick sheet of 4047 Aluminum sandwiched between the two parts.
Upon receiving the parts they were inspected for flatness. Unlike Diffusion Bonding where you press the parts together with a significant amount of force, a braze job like this relies on minimal contact force. This requires that the parts be flatter than the thickness of alloy you are using, otherwise you can develop voids in the braze joint. In this case, the alloy was .002” thick and therefore I required the parts to be flat within .001” or less. These parts were flat within .0008”.
I created a CAD model of the braze profile to be cut then sent it to our machine shop where they used a wire EDM to machine the profile of the braze alloy ensuring it would mate perfectly with the two halves to be braised.
Thermal Profile and Brazing
The parts were then loaded on graphite platens that were also checked for flatness and were within .001” of flatness. I used springs on top of the assembly to apply about 5psi of pressure across the faying surface of each part; just enough pressure to force the parts to make intimate contact without squeezing the braze alloy out of the joint.
There were a few challenges to consider when performing developing the thermal profile for this Aluminum braze. The first challenge is that when the braze alloy reaches its liquidus temperature, the parent material, in this case 6061 T6 Al, reaches its solidus temperature. This temperature is 582 degrees Celsius. So the first step in developing the thermal profile is to spend as little time as possible at 582 degrees Celsius. In this case, I brought the temperature up to 560 degrees Celsius, 17 degrees below the solidus of the 4047 Aluminum. Once all part thermocouples were within 5 degrees Celsius of each other, I brought the temperature up to 585 and immediately turned off the heat to allow it cool quickly so as to not deform the 6061 T6.
The second challenge revolves around the stability of the oxide layer that naturally forms on outer surface of the Aluminum. In brazing and bonding, any oxides left in the braze joint will act a stop, not alloying the braze joint to develop in the area where the oxides are present. Because Aluminum-Oxide does not reduce easily, the oxide layer would normally interfere with the braze joint. In this case, we add a couple of canisters of magnesium to the furnace prior to operation, which acts a “getter” for the aluminum oxide. This encourages the oxides to leave the surface of Aluminum and attach themselves to the magnesium instead.
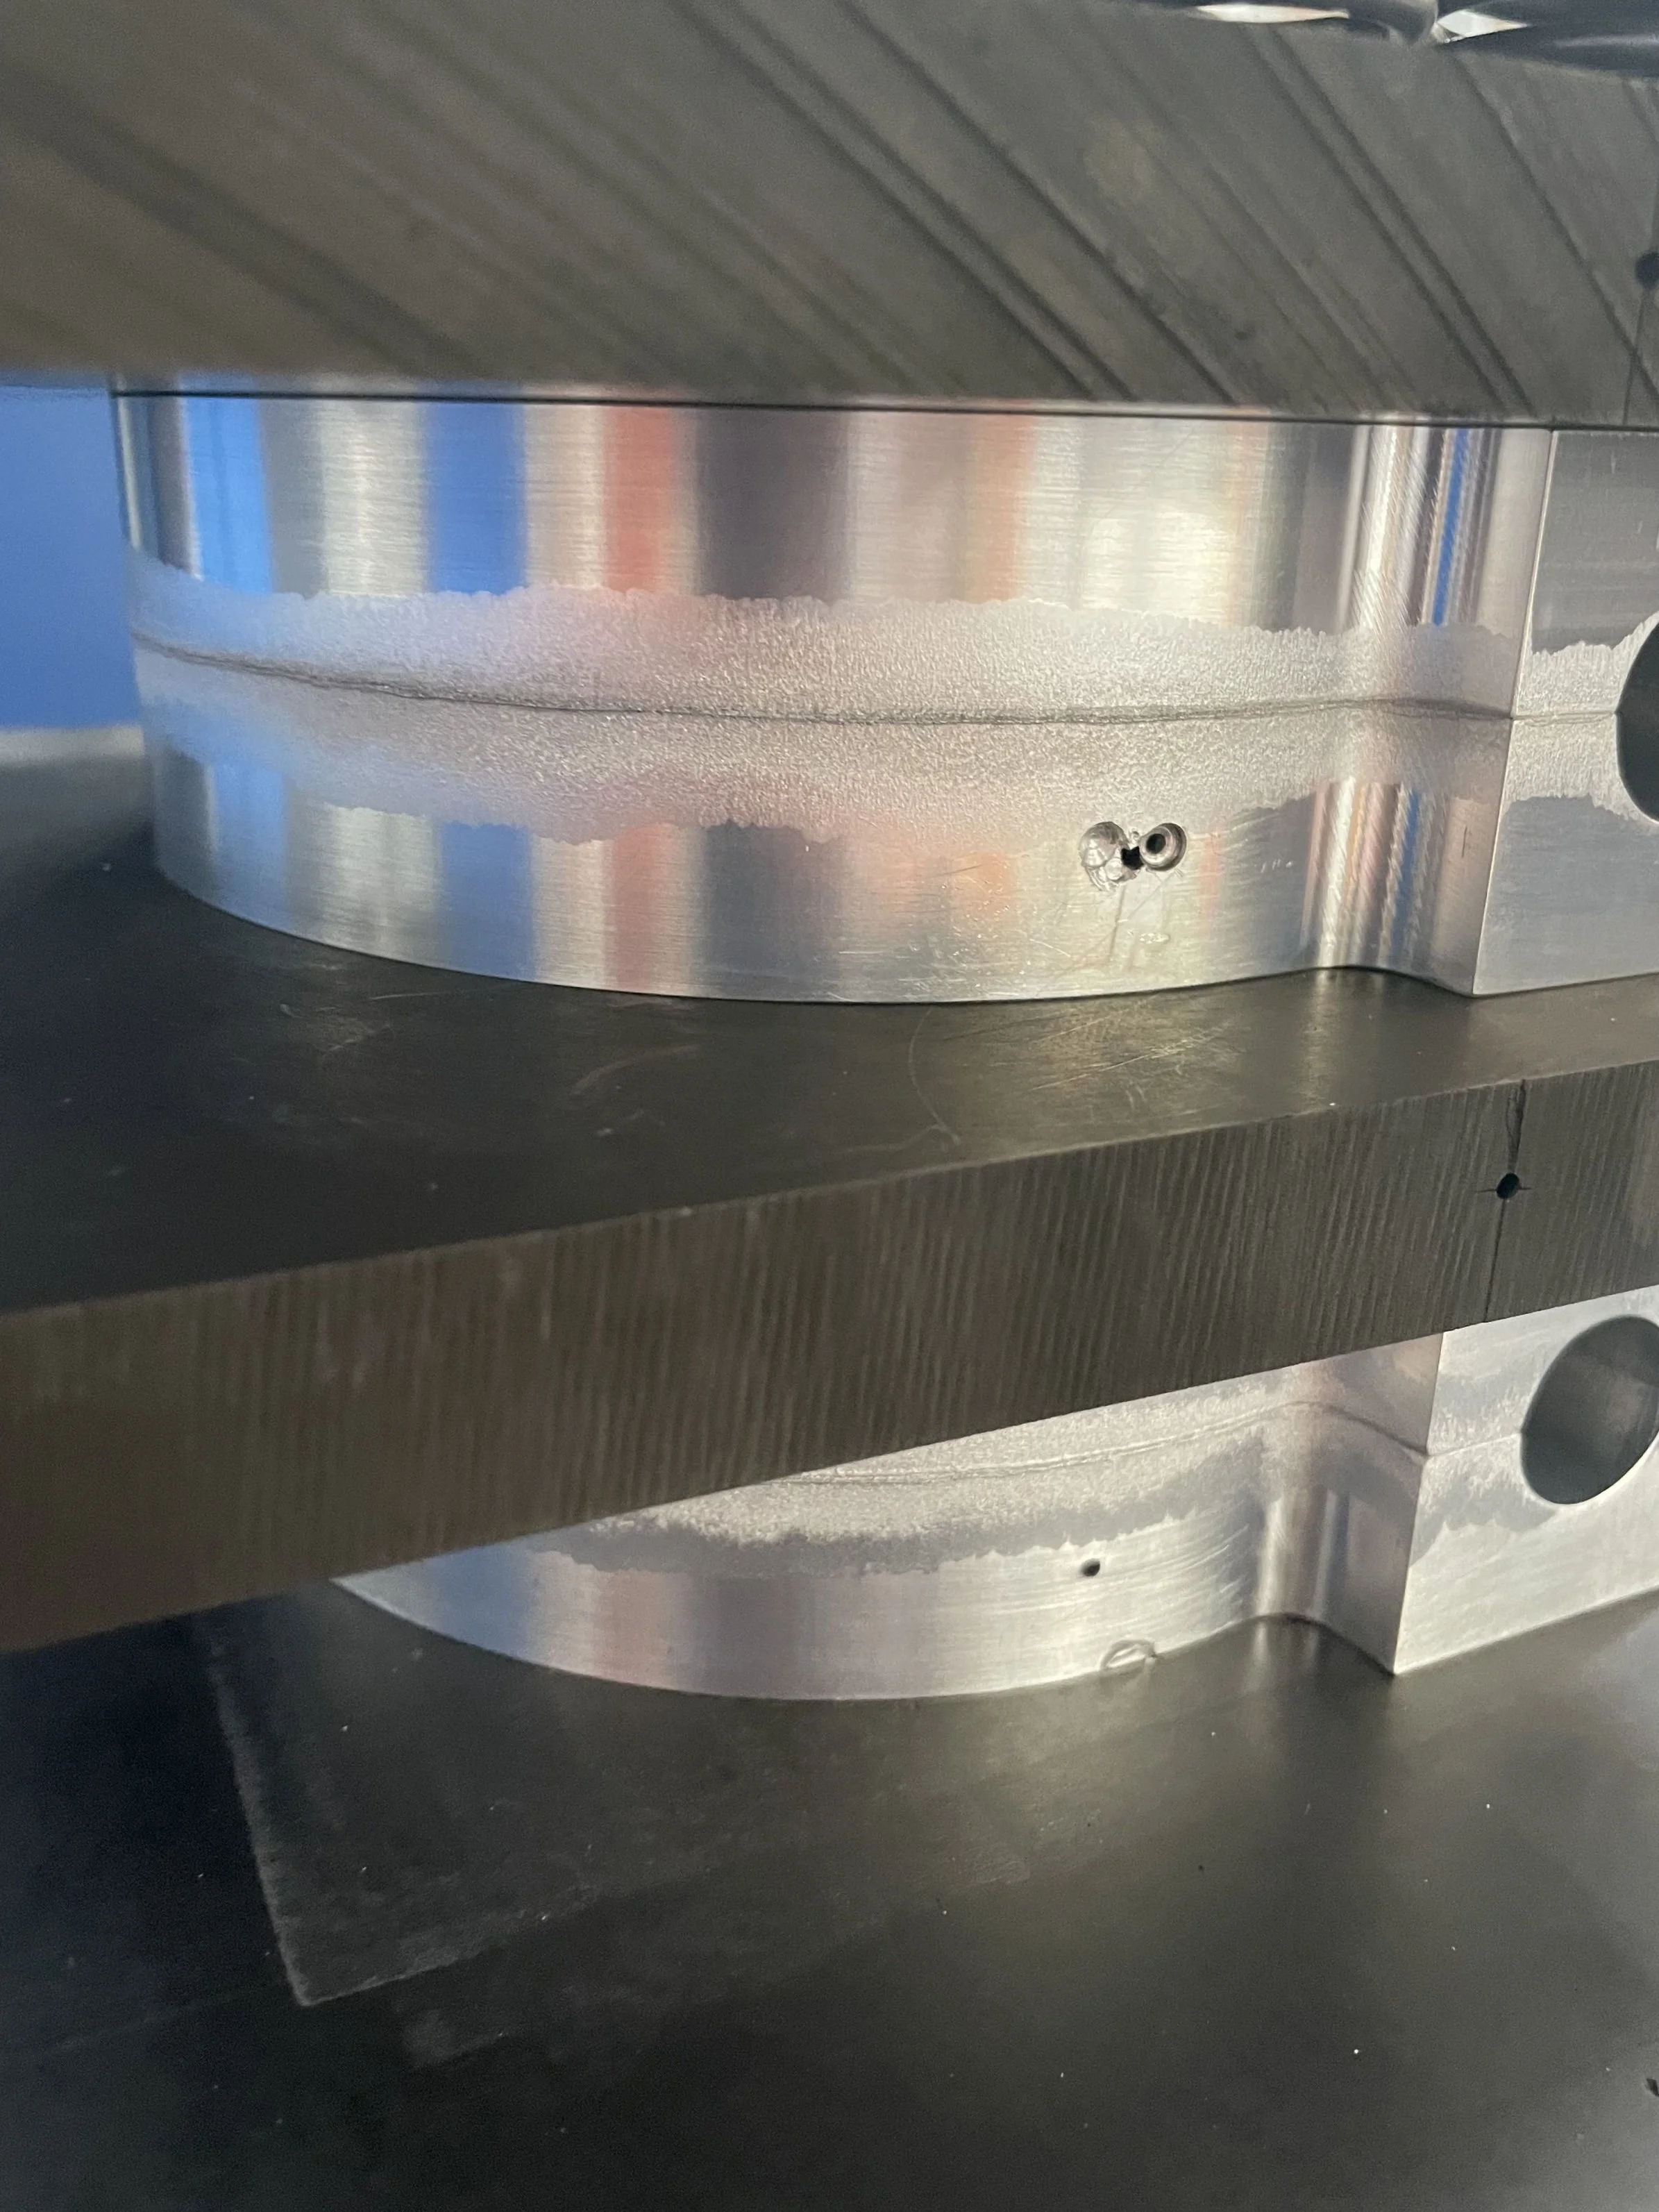
The end result showed a good looking braze joint with minimal flashing, but the real test would come during helium leak testing.
Helium Leak Testing
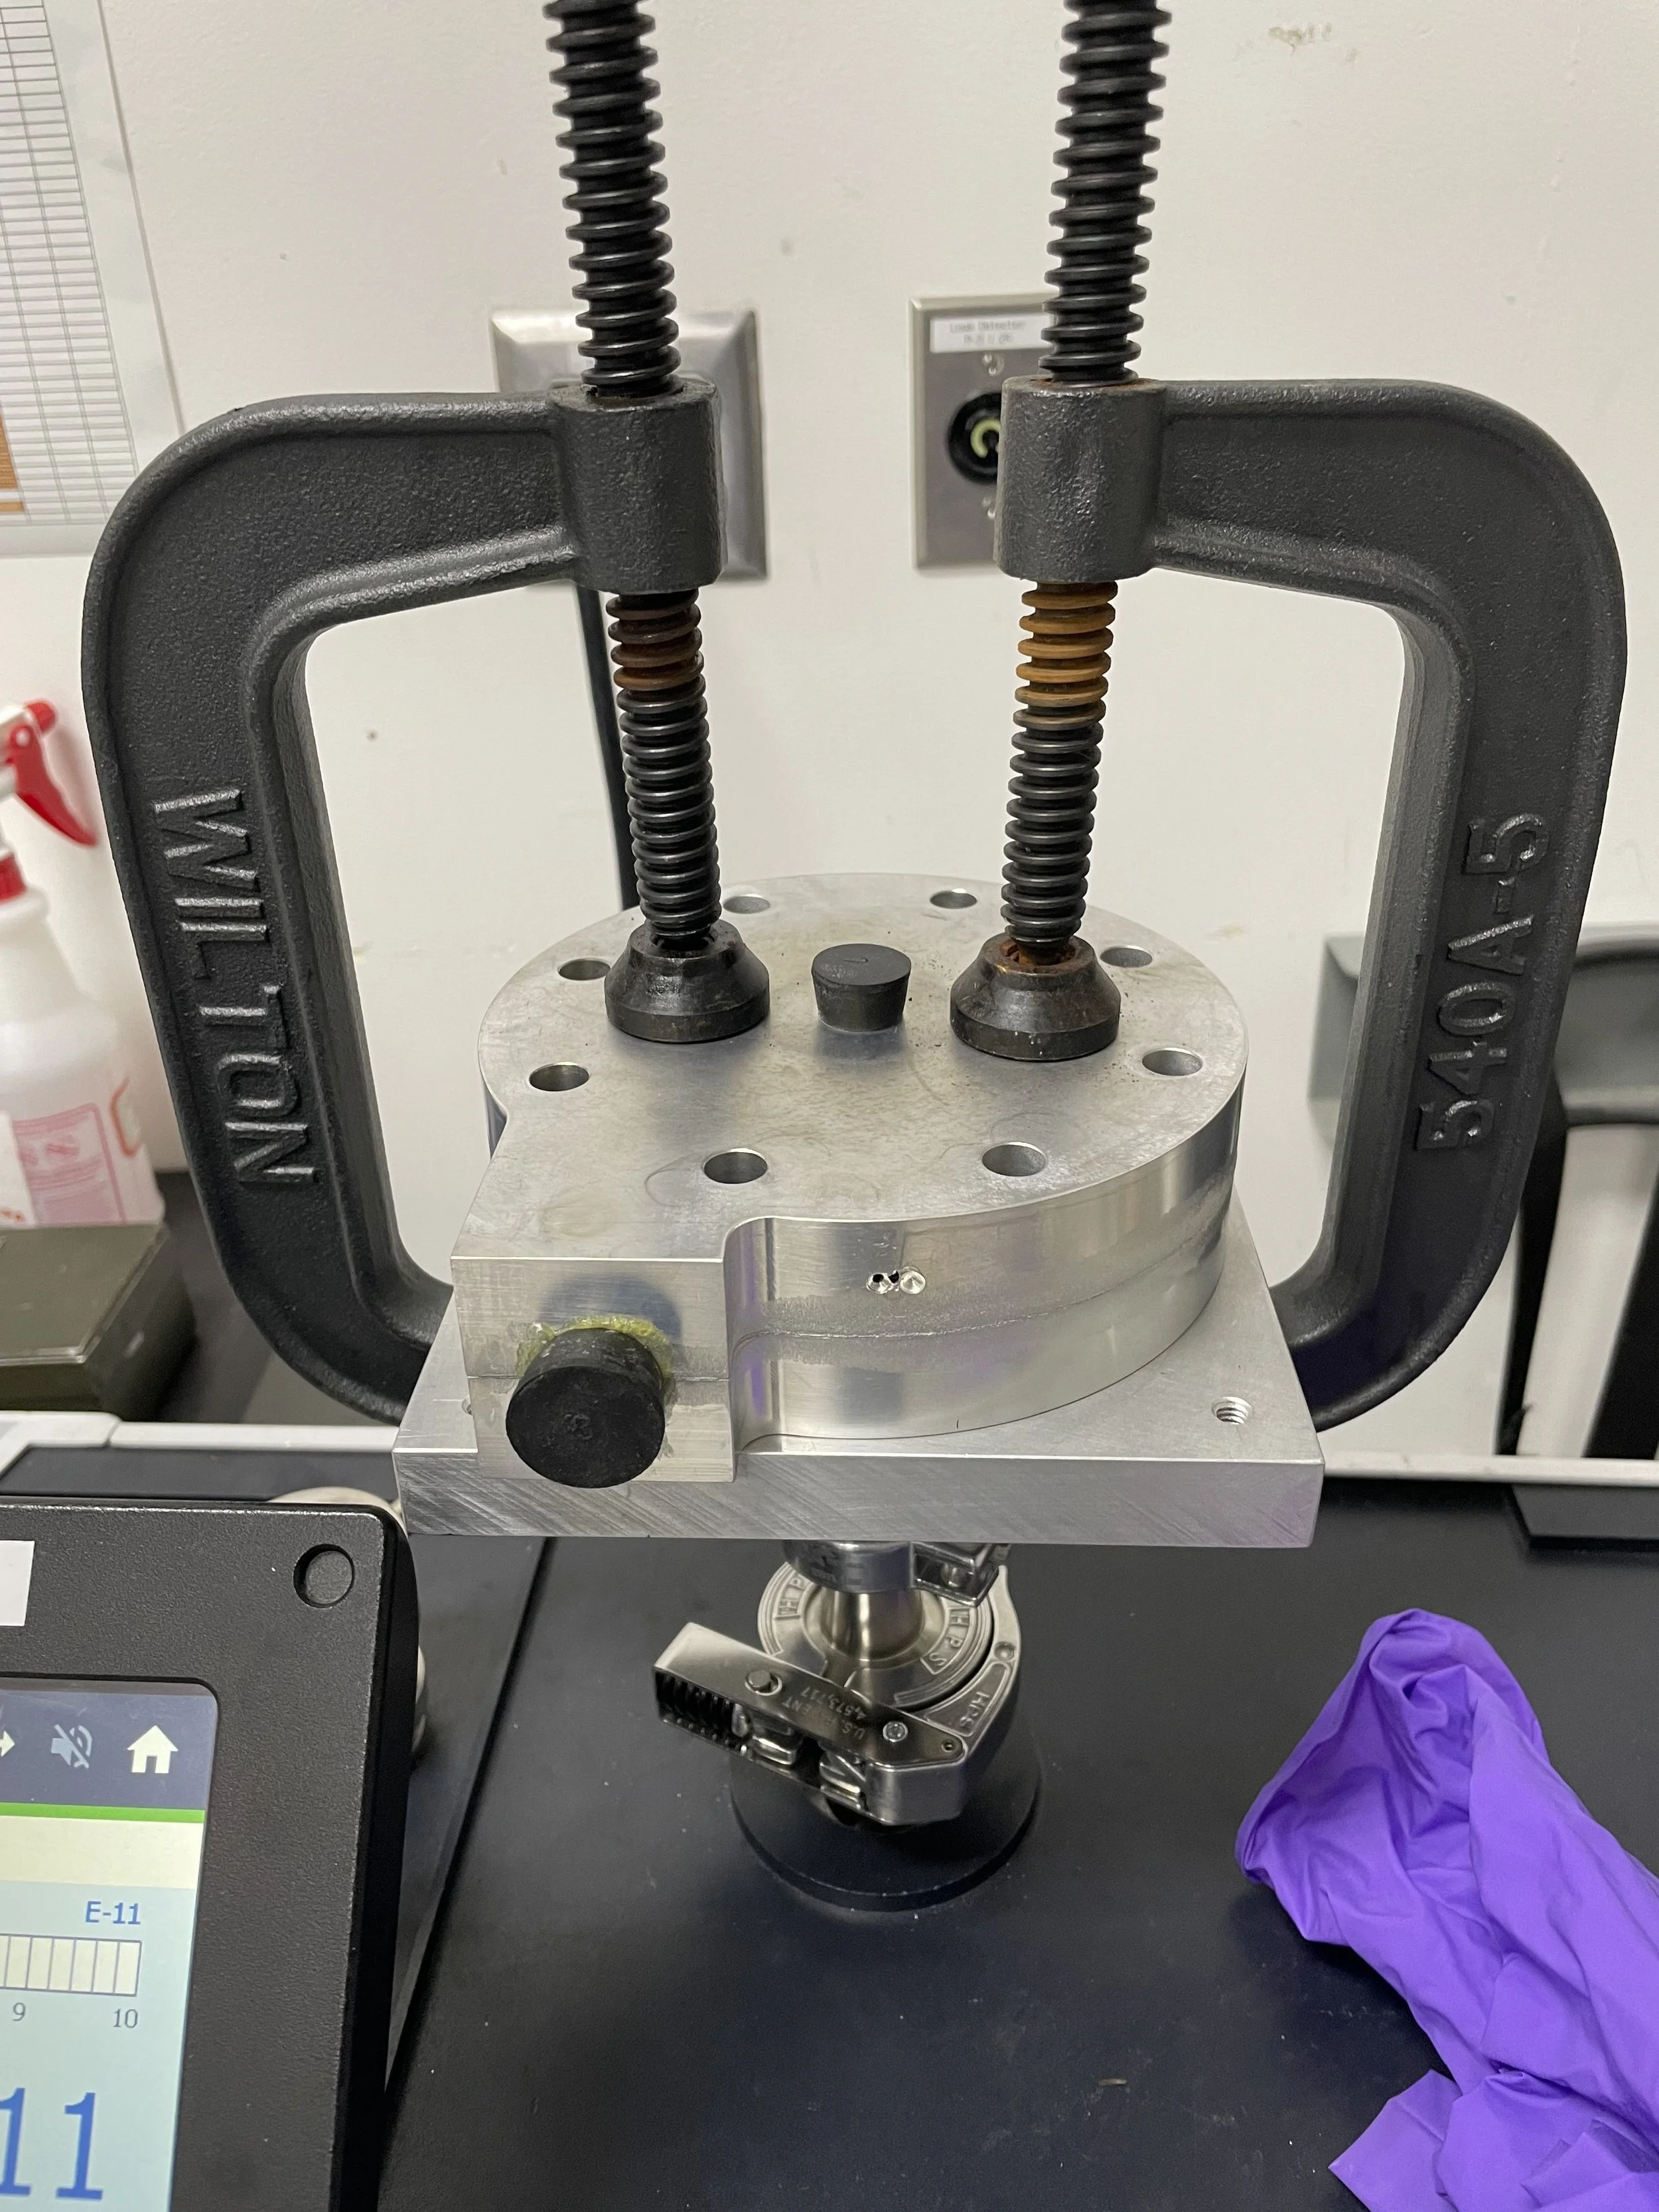
The specification for this part was that we achieve a leak rate in the 10^-11 range. The assembly was clamped to special fixture with o-ring grooves machined into it and the rest of the assembly was sealed with gasket plugs and vacuum sealing grease.
We would then use a small handheld gas release next to the leak detector to release helium on to the part. If we see a spike in leak rate that would indicate there is a leak in some portion of the part. This part passed the leak test and showed no visible signs of leaking.